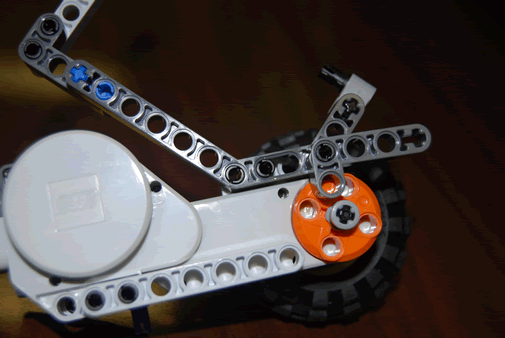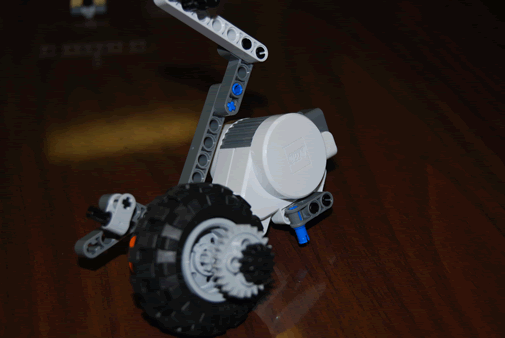
You can now set the sensor array aside while we move on to the wheel apparatus! You will need to build both a wheel apparatus as depicted, and also a mirror image wheel apparatus, so it is most efficient to build both at the same time. Just make sure that one is the mirror image of the wheel apparatus depicted.

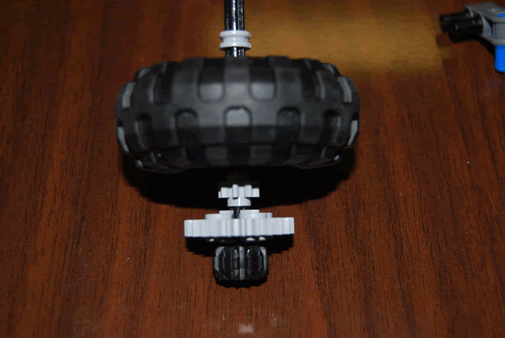
Start by selected a long black bar and affixing a slim grey holder piece, a wheel, a small grey gear, and large grey gear, and a small black gear. The two pieces on either side of the wheel hold it in place. The two gears on the end are, obviously, tire blades for defeating enemy robots.
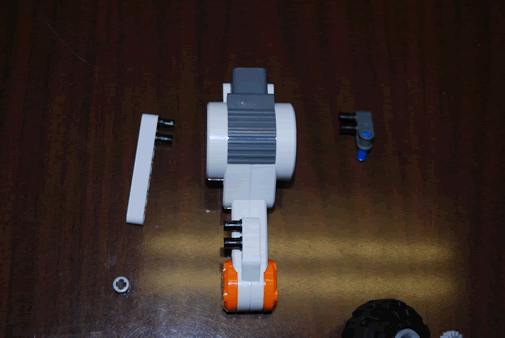
Set the wheel unit aside for a moment and collect/assemble the pieces depicted below. Note that the slim grey holder piece isn't necessary, but just managed to sneak into the picture unnoticed. Also, the white bar is specifically a 7-hole straight white bar.
Attach all of the pieces as shown. Two pictures are shown below, each from a different perspective.
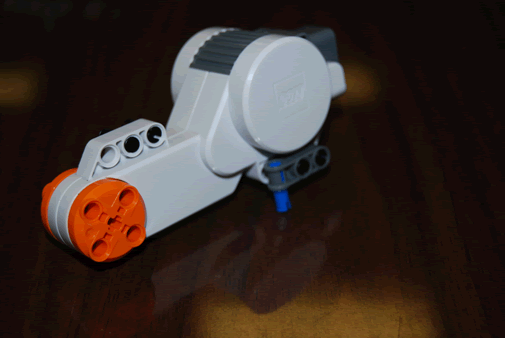
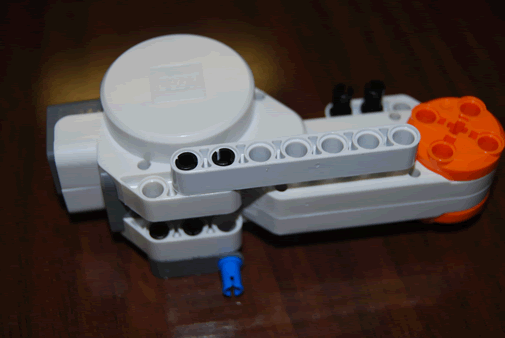
Attach the wheel unit as shown. A large grey holder piece has been added on the far side of the wheel motor to hold the black bar in place. The wheel and its holder pieces have been pushed flush with the wheel motor and wheel. The tire blades stay at the end for maximum reach, of course.
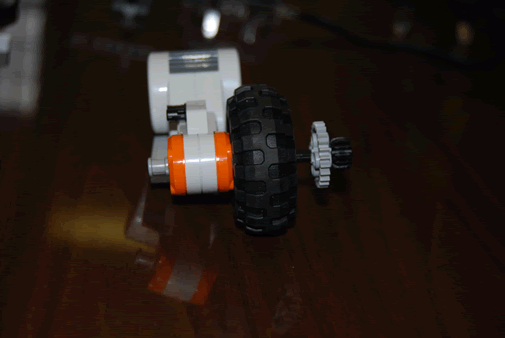
Now gather these pieces. Both small grey L-shaped pieces are the same size. The white bar is a 7-hole straight white bar.
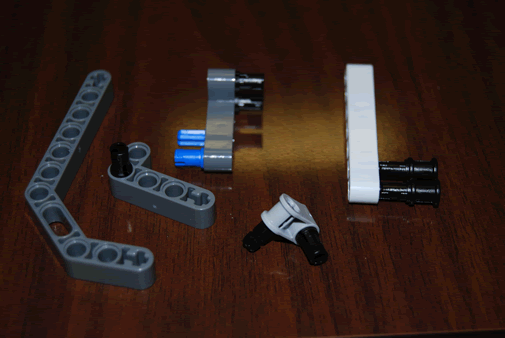
Connect these pieces as shown in the pictures below. Note that some of the angles of the two pieces in the second picture may need to be corrected later if they are not correct, but this will neither be hard nor difficult to determine (since they won't connect otherwise).
Correction: The grey piece at the small end of the large L-shaped piece should be rotated counter-clockwise one rotation (90 degrees) relative to the first picture. (This would be clockwise relative to the second picture, since it is from a different perspective.) You can see this on the completed piece in the picture on the top of this page.
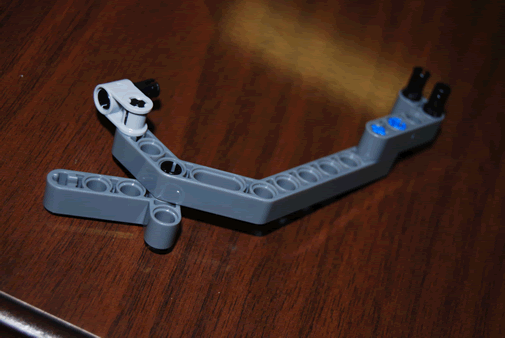
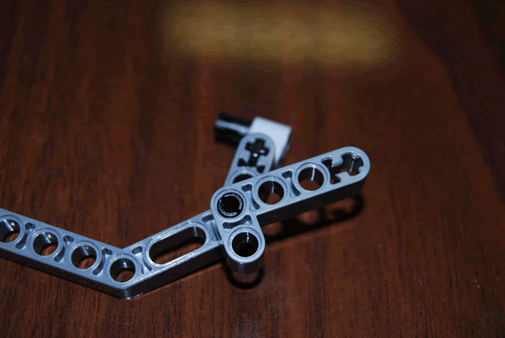
Attach the final piece from step 5 together. Note that the light grey piece is still rotated incorrectly in this image.
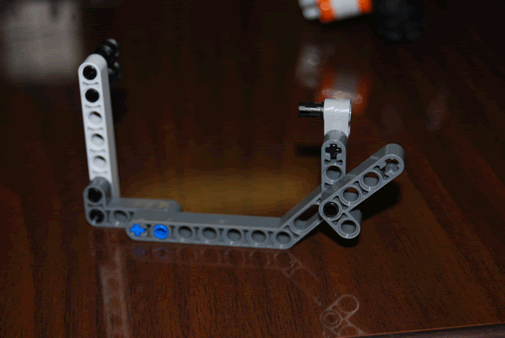
Attach this newly created piece to the wheel motor.
