| |
|
|
| |
Sensor
Construction
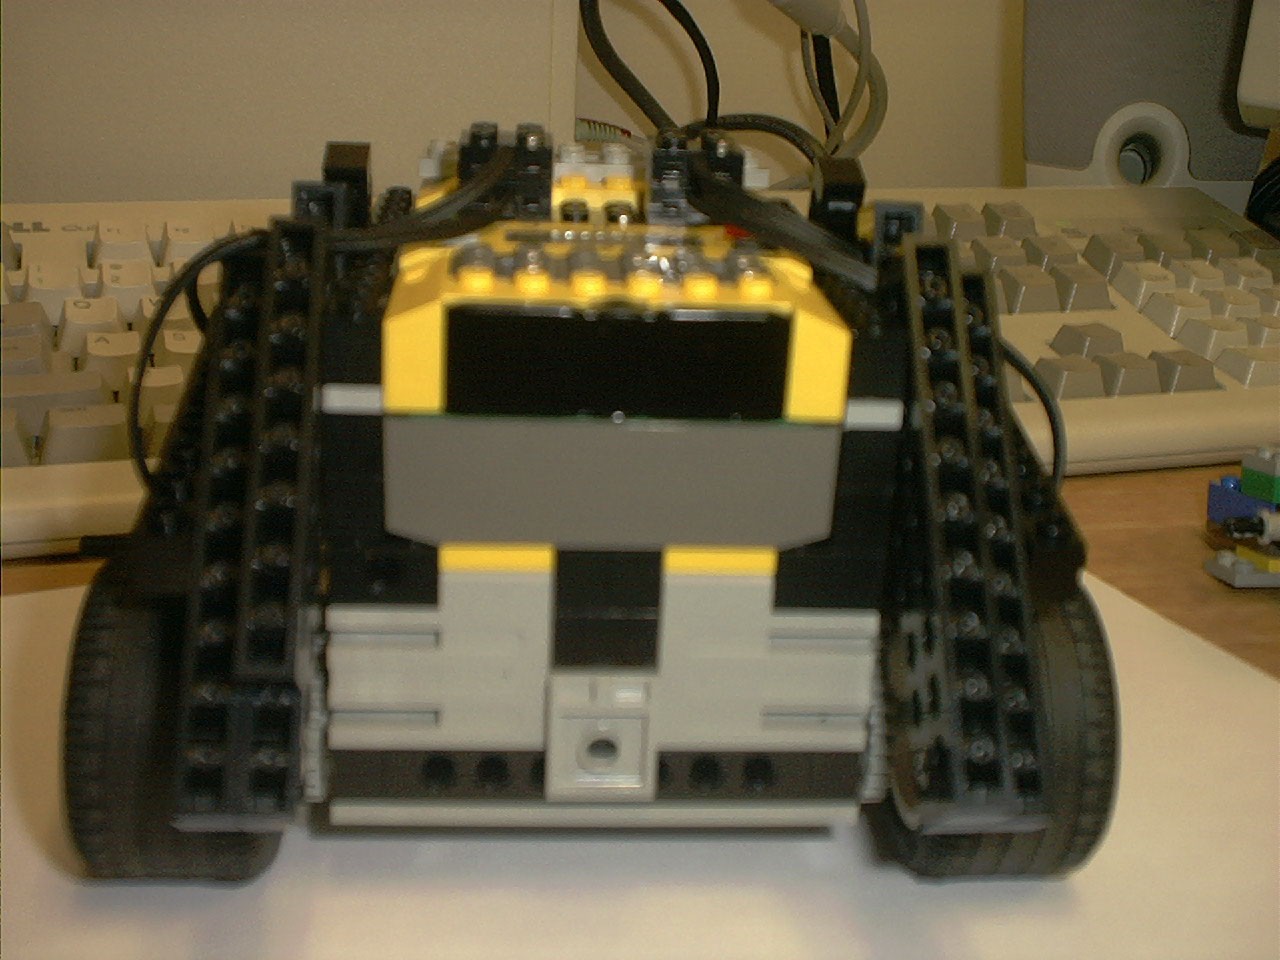
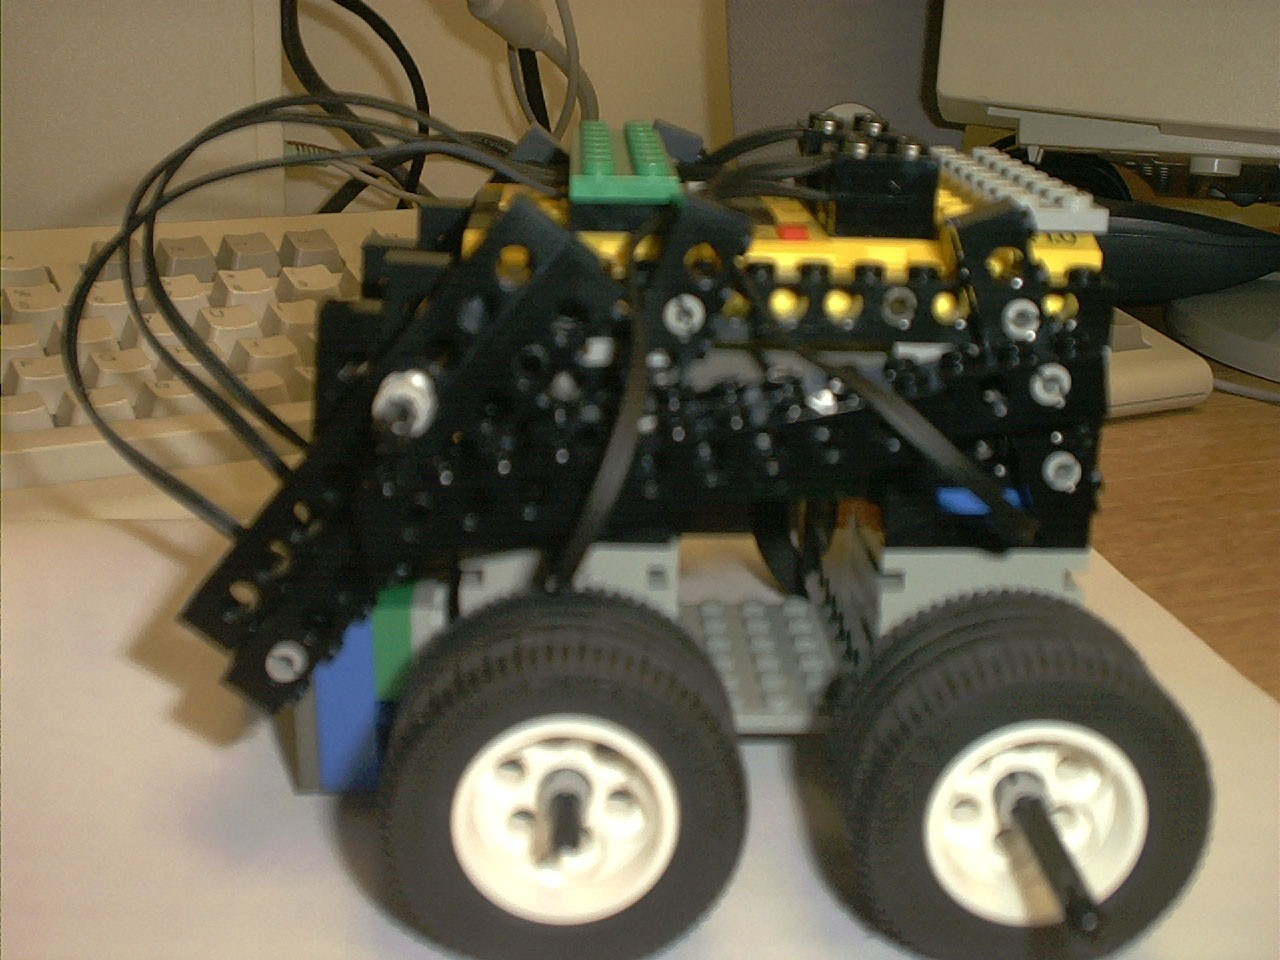
| Your Robot should now look like this from
the front, just waiting for the sensors to be added |
 |
|
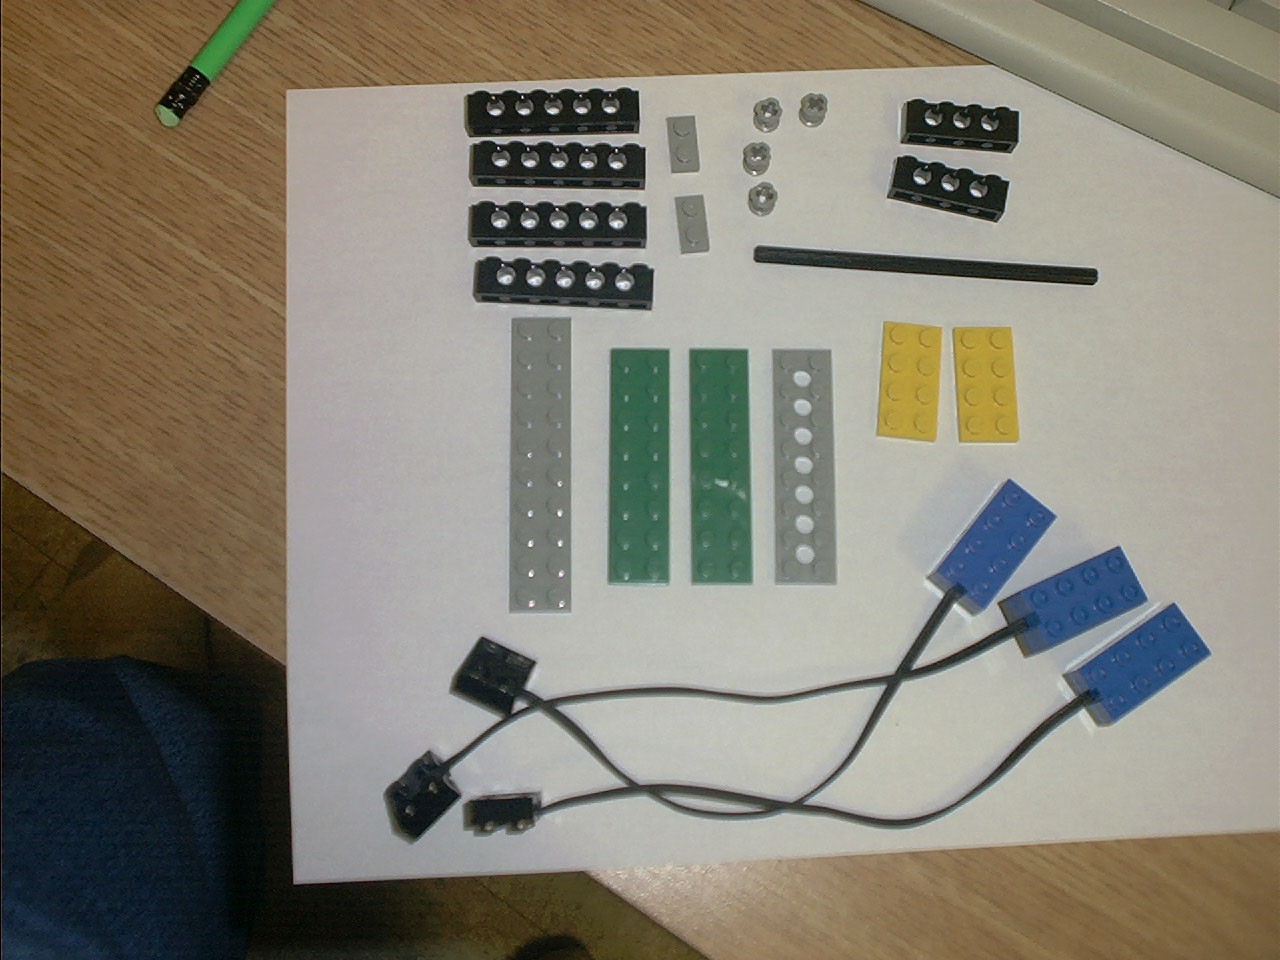
Pieces for sensor Apparatus
(4) five hole pieces, (2) three hole pieces, (2) two
peg flat pieces, (4) connectors, large rod, (2) eight
peg flat pieces, (3) 16 peg flat pieces, 20 peg flat
piece and (3) sensors
|
 |
|
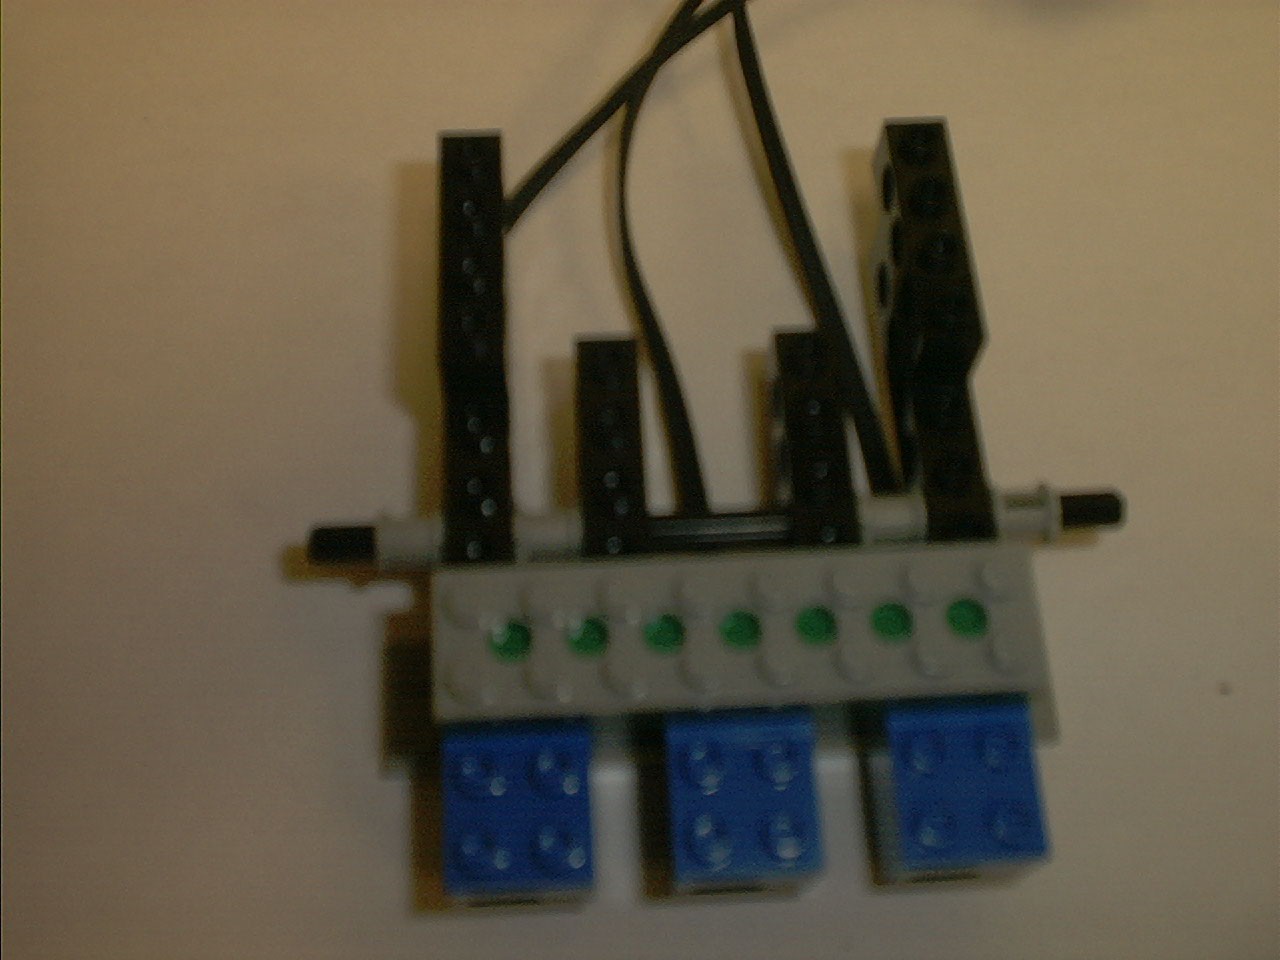
Top view of Sensor apparatus
20 peg flat piece is on bottom, on top of this is the
2 eight peg flat pieces
The sensors come next seperated by one lego unit. These
spaces between the sensors is filled with a 2 peg flat
piece followed by one of the five hole pieces. The final
layer is three 16 peg flat pieces.
A pole is run through as close as possible to the sensors
that includes two more 5 hole pieces. These 5 hole pieces
have a 3 hole piece stuck to their end that rests up
against the robot, again provideing extra support.
|
 |
|
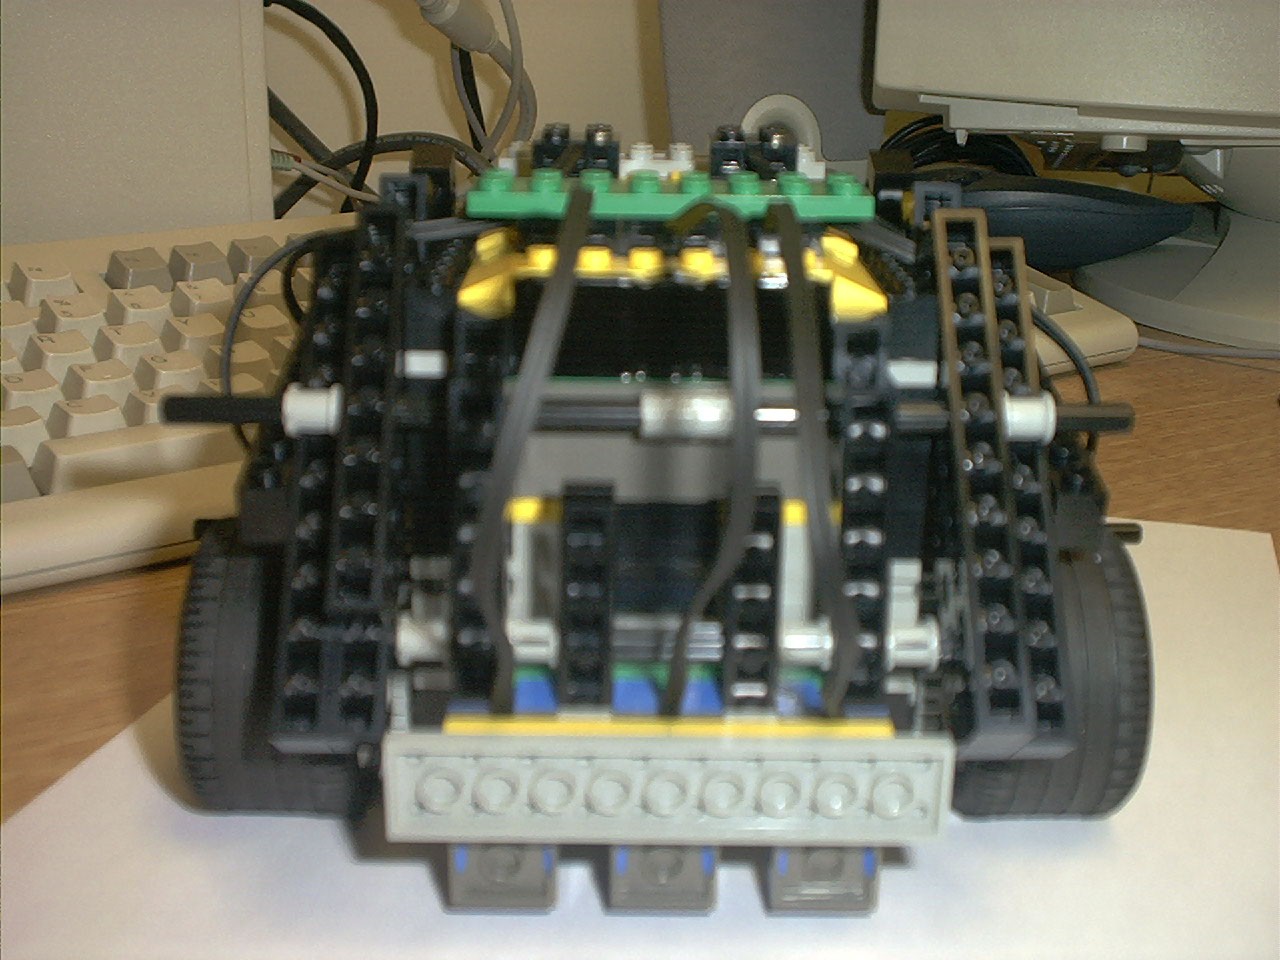
The arms of the robot are spread and the sensor apparatus
slips into appropriate holes and is snapped to the change
of direction piece. A final two-piece rod is slipped
into the upper portion of the robot for added support.
|
 |
|
The sensors are then attached, the wires on the light
sensors face forward and the motor connections face
front as well (two per connection on top). We added
a final 16 peg flat piece over the light sensors for
added support.
|
 |
|
| |
|
